There’s a certain magic in wielding the scissors yourself—especially when it comes to fringe. It’s like sculpting a living frame for your face, a bold statement that can transform your look in the blink of an eye. But here’s the secret: cutting your own fringe isn’t just about snipping strands; it’s about embracing imperfection with confidence and turning a few wobbly cuts into a signature style. Whether you’re aiming for a soft, feathery curtain or a sharp, edgy sweep, the right technique can make all the difference. Let’s dive into the art of DIY fringe, where every snip is a step toward self-expression.
The Art of the First Cut: Where Bold Meets Beautiful
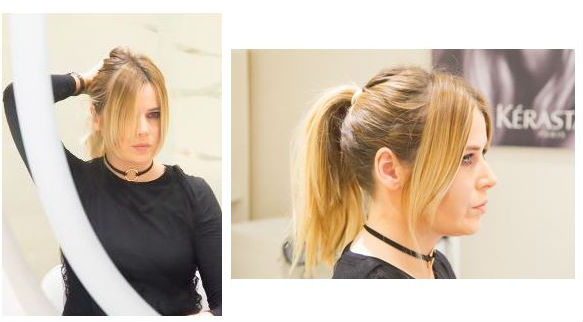
 Before you even lift those scissors, ask yourself: What kind of fringe do I want to wear? A blunt, chin-skimming cut? A wispy, layered peekaboo? The first snip is where hesitation dies and creativity begins. Start with dry hair—yes, dry—to see how it naturally falls. Use your fingers as a guide, pulling sections forward to mimic the angle you want. Remember, you can always trim more, but you can’t glue back what’s gone. So take it slow, stand in good light, and let the scissors dance where your vision leads. The fringe you’re about to create isn’t just hair; it’s a declaration.
Tools of the Trade: Your Fringe’s Best Friends
 Think of your fringe as a masterpiece in the making, and your tools as the brushes and paints. Sharp hair-cutting scissors are non-negotiable—they glide through strands like butter, while dull ones will leave you with a ragged disaster. A fine-tooth comb is your compass, helping you section hair evenly and avoid accidental bald spots. Hair clips are your secret weapon, keeping the rest of your locks out of the way while you focus on the task at hand. And don’t forget a handheld mirror to check your progress from every angle. With the right tools in hand, you’re not just cutting fringe; you’re crafting a look that’s uniquely yours.
The Layered Illusion: How to Create Depth Without the Drama
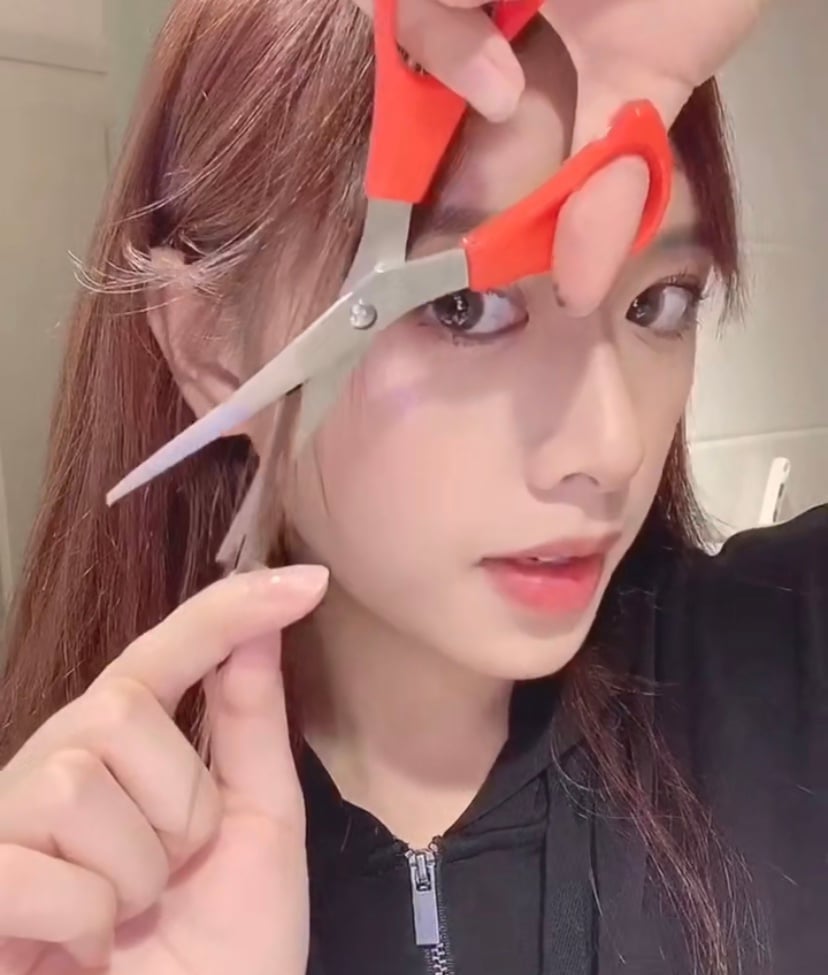
 Fringe isn’t a one-size-fits-all affair. For those craving a softer, more dimensional look, layering is your best friend. Start by sectioning your hair horizontally, just above your eyebrows. Take a small subsection, twist it gently, and snip the ends at an angle—this creates subtle layers that add movement. The key is to work in small increments; you can always take more off, but you can’t add back what’s lost. Think of it like sculpting clay—each cut reveals a new shape, a new possibility. The result? A fringe that moves with you, catching the light and adding a whisper of mystery to your gaze.
The Blunt Truth: When to Go for the Straight and Sharp
 Sometimes, simplicity is the ultimate sophistication. A blunt fringe—crisp, clean, and unapologetically straight—can be a game-changer. To achieve this look, gather a section of hair at your desired length, hold it taut between your fingers, and snip straight across. The trick? Keep the rest of your hair out of the way with clips, and double-check your work in the mirror to ensure symmetry. A blunt fringe is like a bold exclamation point at the end of a sentence—it demands attention and frames your features with striking clarity. But be warned: this style is less forgiving than layered options, so measure twice, cut once.
Finishing Touches: The Secret to a Fringe That Flows
 The magic of a great fringe doesn’t end with the scissors—it’s in the styling. Once you’ve nailed the cut, blow-dry your fringe forward to see how it behaves. Use a round brush to coax it into place, or tousle it with your fingers for a lived-in, effortless vibe. A light hairspray can tame flyaways, while a texturizing spray adds grit and dimension. And here’s a pro tip: if your fringe feels too heavy or falls flat, try flipping your head upside down while blow-drying to add volume at the roots. Your fringe isn’t just a hairstyle; it’s a living, breathing part of your look that evolves with every wash, every style, every day.