
Thinking of achieving a salon-perfect blowout but intimidated by the price tag or the time it takes? With the right tips and tools, nailing a stunning, professional blowout at home is absolutely achievable! A well-executed blowout is more than just dry hair; it’s about incredible body, movement, and that coveted polished look. Whether your hair is thick, unruly, or naturally straight, mastering your at-home blowout can save time, money, and frustration. This comprehensive guide will equip you with everything you need to transform your hair and leave the salon feeling green with envy.
Essential Tools: Investing in Quality Matters
 The cornerstone of any amazing at-home blowout is starting with the right tools. A high-quality blow-dryer with ceramic or tourmaline technology is crucial; it distributes heat evenly, reducing damage and speeding up drying time compared to cheaper models. Look for models with adjustable heat and speed settings to match your hair’s needs and prevent overheating. Crucially, possess the right diffuser. The most recommended style for a voluminous blowout is a round barrel diffuser, typically measuring around 9-11 inches. This specialized nozzle lifts hair from the roots as you blow, maximizing volume, particularly at the crown. A good quality tail brush is another investment piece. When blow-drying, you’ll spend hours brushing your hair, and a durable tail brush with a round barrel helps detangle and lifts simultaneously, preventing breakage.
Drying Techniques for Maximum Body and Shine

Sectioning: The Key to Controlled Styling
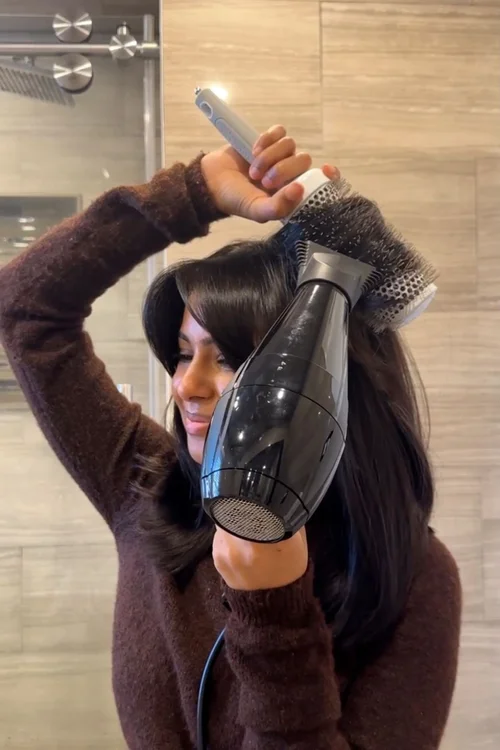 Divide and conquer! Proper sectioning is non-negotiable for a professional blowout. Working in small, manageable sections allows precision styling and prevents tangling. The exact number and size depend on hair length and thickness, but expect to use anywhere from 2 to 6 small clips at a time. Start with a base layer under your hair tie or bobby pin. This should be pulled back tight across your forehead. Then clip smaller sections off to the sides, leaving hair around the ears and back for final styling. For a messy bun effect or beachy waves, clip out sections as you go, styling smaller pieces. Remember to take breaks between sections. Your arm and wrist will tire significantly, so build in pauses to rest.
Product Power-Up
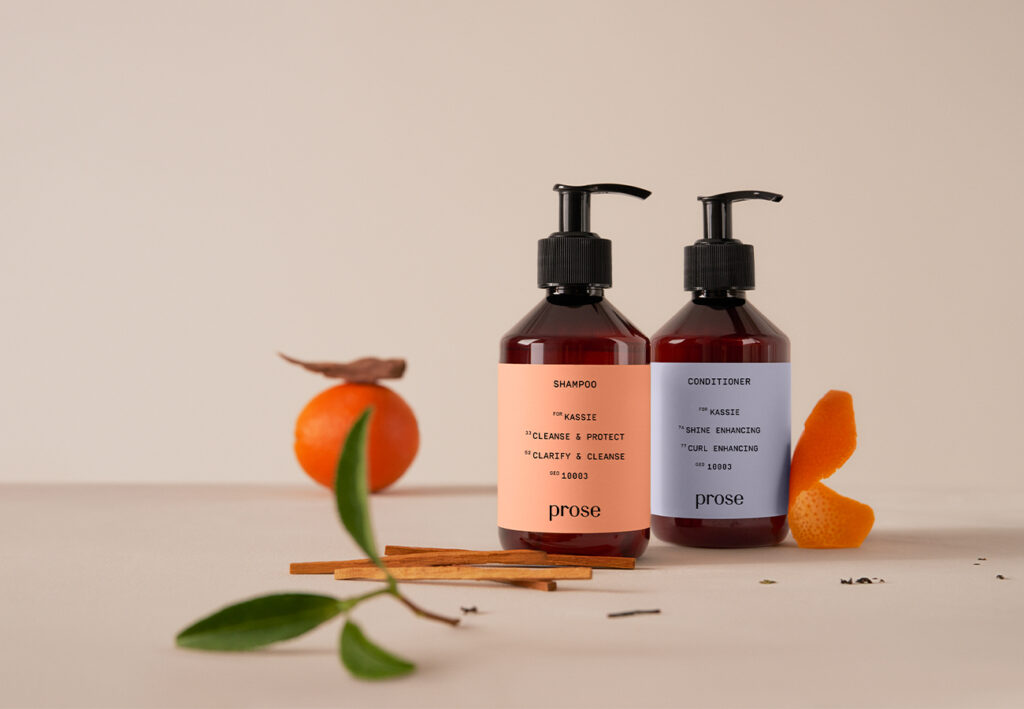
Integrating the right styling products elevates your at-home blowout from a simple dry to a salon-caliber finish. A heat protectant is non-negotiable; it shields your hair from high temperatures. Apply a thin, even layer from root to tip before blow-drying. For defining texture, especially if your hair is straight or fine, a light-texturizing or mousse product can be great. Mist onto damp or dry hair before blow-drying (focus on the mid-lengths to ends for definition) or apply to the drying hair for added body and hold without making the ends crunchy. Some prefer a styling cream or wax for that extra grip and non-sticky hold.
Focusing on Results: Highlights, Body, and Taper
The finishing moves are what separate the look from a simple blow-dry. This is where you sculpt, shape, and ensure your blowout has the professional polish. Once all sections are dry and styled, use a detailing brush or paddle brush to gently backcomb a small section near the crown or back for extra lift. Define strands away from the face – bangs, temples, maybe a small side section – using clips or gentle backcombing to maintain separation. Crucially, pay attention to the nape of the neck (the back of your head). This is the “tail” of the blowout. Use your brush or diffuser on the lower back area to lift slightly and ensure a smooth, tapered line, preventing a bulky or lumpy effect. Finally, check the overall shape. Do bangs look perfect? Are there stray hairs? A quick pass with a round brush clipped near your ear might fix points or flyaways.
Making the Most of Your At-Home Blowout Power
 A professional-grade blowout from the comfort of home requires patience, the right tools, and a bit of practice, just like mastering any advanced hairstyling technique. Don’t get discouraged if your first few attempts aren’t perfection; it takes time to get comfortable with your tools and process. Master one sectioning or finishing trick per session, and you’ll build expertise quickly. Most importantly, listen to your hair. Adjust heat settings, use products sparingly, and celebrate the amazing transformation you’ve achieved. By understanding the process, investing a little, and focusing on technique, you can now confidently say you know how to do a blowout at home that stands up to professional standards and leaves you feeling stunning!