

Thinking of dyeing your hair a vibrant new color, but feeling a little intimidated by the salon price tag? You’re definitely not alone. We’ve all seen those stunning, salon-fresh looks in magazines or snapping pictures of friends, and the urge to achieve that color yourself is strong. But maybe a little seed of doubt planted itself there too – what if something goes wrong? What if the color is uneven, or worse, the whole process is a disaster?
This post was born from countless queries about DIY hair dyes and the desire to transform that initial excitement into a confident, successful DIY project. The thought of “maybe regretting” it hangs over many potential projects. Will dyeing your hair at home be a magical experience of liberation, or a dreaded regret?
Is That Little Voice in Your Head Asking Too Much? Let’s Get It Right!
 Before you gather all your supplies and pull up those YouTube tutorials, let’s talk honestly. Yes, it’s possible to mess up dyeing your hair at home – just like any DIY project requires some planning and awareness. Maybe you think color theory is complicated, or you’re worried about oxidation and how timing affects the shade. Fear of permanent damage is another common hurdle.
The key? Preparation is everything. Think of it like baking – you wouldn’t just dump all the ingredients out without measuring, would you? Researching your specific hair type (fine, thick, gray vs. non-gray), understanding the different dye formulas (permanent, semi-permanent, temporary), and knowing the specific undertones and nuances of the color you want are the first steps. Don’t just go shopping aimlessly. Plan your palette. Even just doing a quick test strand from an old box you have in the back will save you major headaches down the line.
From Bottle to Locks: The Strategy is Half the Victory
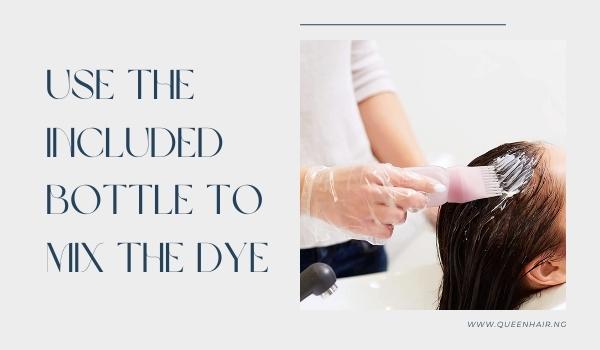 Mistake number one? Not having a game plan. It’s really that simple. A good hair dyeing session requires strategy, just like any detailed artistic endeavor. Whether you’re creating a drastic new color or subtly refreshing your old one, approach it like a painting project or even assembling a jigsaw puzzle.
Start by thoroughly washing your hair – clean hair absorbs color more evenly. Determine your base color; knowing this helps predict how the final color will land. If your hair is resistant (hello, blonde trying to go brown!), extra time or a different process like ombre or balayage might suit you better than a simple box dye job. Read those instructions carefully – it seems obvious, but mixing the dye with the developer as specified is crucial for both color intensity and processing time. Too much, and you might risk damage; too little, and you won’t get enough lift. Also, consider sections: braiding or clip-ting sections will ensure an even application and, crucially, no overlapping or missed patches that lead to uneven color.
The Good Hair Dye Company: Choosing Your Paint Supplies Wisely
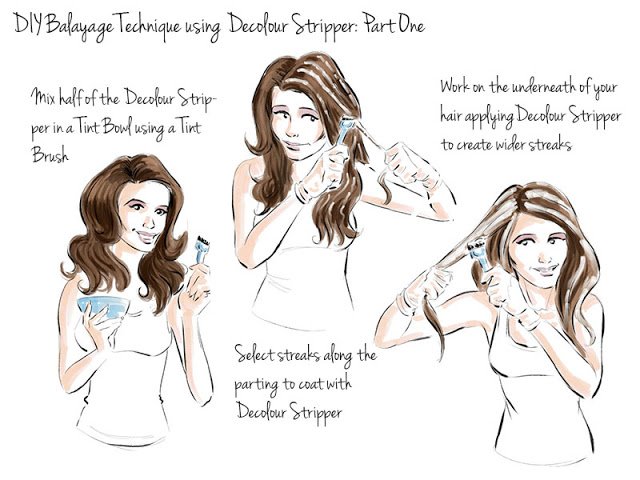 The market is flooded with options, from basic box dyes to premium brands, and it can be overwhelming. What exactly should you be looking for when choosing your hair dye? It’s about matching the right tool to the job and your skill level. Let’s break it down:
Permanent vs. Semi-Permanent vs. Temporary: Permanent dyes contain oxidizing agents (usually ammonia or ammonium thioglycolate) that penetrate the hair shaft, offering the most dramatic and lasting color change. This is usually where DIY kits come in. Semi-permanent dyes are gentler, deposit color without cutting the natural pigments, fading with the next wash, and often come in fun, temporary colors. They don’t typically change hair texture but can provide dimension and highlights. Temporary color only lasts for one wash. Great for special occasions!
Premium vs. Budget: Premium kits often boast longer processing times, lower ammonia content (better for sensitive scalps or minimizing damage), shinier results, and higher quality conditioning. The budget kits certainly work, offering color, but you might need more boxes for the same effect and might experience slightly choppier results. If your hair is damaged or sensitive, investing in a high-quality permanent hair color like a salon-preferred line or a reputable budget brand known for gentler formulas might be a wise choice to minimize potential trauma during the coloring process.
Color Science Made Simple: Choosing the Right Pigment
Choosing the right shade isn’t just about picking a picture from a magazine. It involves understanding pigment and color theory. Think of colors on the color wheel – complementary or analogous shades exist, and understanding this basics can help you find a shade that coordinates or contrasts beautifully with your natural hair if changing the base color significantly.
Beyond pure color matters – undertones are key. A cool blonde has golden, yellow, or ash undertones, while a warm blonde has more honey, orange, or red tones underneath. A brunette might be cool (dark brown, black) or warm (mahogany, chestnut). And reds can be orange or more crimson or purple-saturated (pyrrolidine). Selecting a color that complements your current hair undertones can make the transition smoother and the final result look more natural and vibrant. If dyeing darker, you often have more leeway; if lightening significantly, especially blonde hair, you need to be extra cautious with bleach or color removers and follow strict instructions.
Aftercare is Key: Protecting Your Color Investment
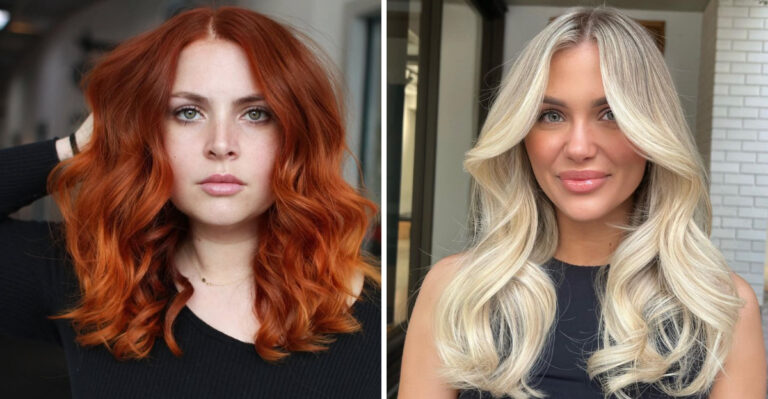 So, maybe you successfully dyed your hair – congrats! But the journey doesn’t end there. Hair that has been chemically processed (coloring and relaxing, and possibly bleaching) is more vulnerable. Investing in a good clarifying shampoo and conditioner is crucial to remove processing chemicals and prevent future color fade and buildup. Waiting 48 hours before washing allows the cuticle to close up nicely and set the color properly.
During the weeks (or months) the color is active, protecting it from environmental factors is essential. Sun exposure and swimming pool water can strip color away faster. Heat styling – minimize! High heat opens the cuticle and leads to fading and damage. Use a color-safe shampoo and conditioner when washing, and deep conditioning treatments are a lifesaver for colored hair. Also, be realistic about color longevity – while good quality permanent dyes can last many shampoos, factors like gray hair growth (if any) will eventually need touch-ups or a full reprocess.
Conclusion: Your Future Color Portfolio Awaits!
The fear? It’s the shadow of the unknown. But the freedom? It can be incredibly rewarding. By arming yourself with knowledge – understanding your hair, researching the products, planning your game day, treating it with respect during processing and afterward – you can absolutely master the art of dyeing your hair at home. It’s about moving from potential regret to confident control. The first time you see that perfect, vibrant shade you created yourself is the beginning of a new power. Go forth, experiment responsibly, learn from any mix-ups, and don’t regret the look you finally found. Transform your hair at home!