
Welcome to your go-to guide on achieving salon-worthy curls with the gentle might of a hair diffuser. We’ve all been there – staring at a bottle of product and a curling iron wondering how to get our hair right or simply deciding it’s time for a gentler approach. The blow dryer, while powerful, can be a beast, stripping your hair of its natural moisture and leading to the dreaded ‘porcelain’ look or frustratingly flat styles. Enter the hair diffuser, a game-changer for those seeking beautiful, defined curls without the heat damage. But let’s be honest, even having a quality diffuser doesn’t automatically guarantee perfect curls. It requires technique, an understanding of your hair type, and some specific know-how. This guide unpacks the secrets to mastering your diffuser, turning it into your curl-creation powerhouse.
Maximizing Volumizing Products: More Than Just Quantity
 Think of your styling products not just as accessories, but as the blueprint for your curls. A diffuser excels at distributing volume, but without the right product foundation, you’re missing key elements. Applying product directly to your hair (not just onto your scalp) before drying is crucial. This means generous applications of root serum or mousse if you’re aiming for volume at the crown, followed by curl enhancing gel throughout the lengths for definition. Anti-frizz serums should be smoothed down the hair as the final step, sealing everything in place. For example, products like Artofit’s recommendations can transform your drying routine, teaching you how to use a hair diffuser effectively from the start for a foundation that supports beautiful, bouncy curls and waves.
The Foundation of a Diffuser Routine: Sectioning Techniques
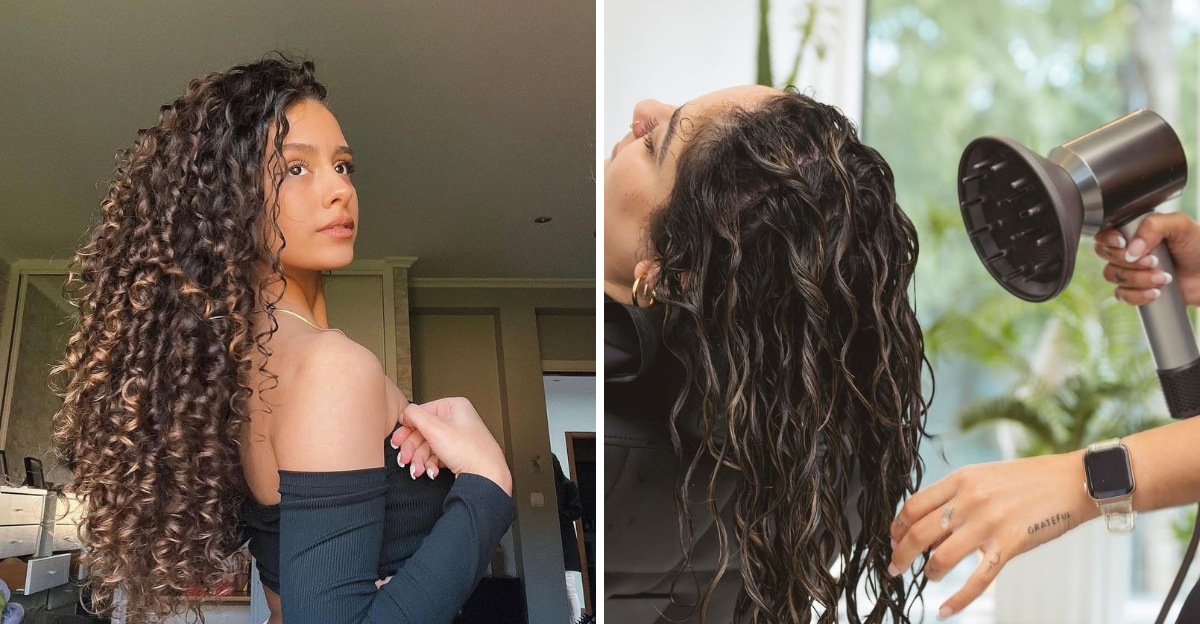 Just like a gardener prepares the soil before planting, successful diffuser work starts with sectioning. This often overlooked step is paramount for control and even drying. Forget attempting to dry haphazard tufts of hair – it leads to uneven results and tangles. Instead, start by creating two horizontal sections down the back of your head. Then, divide each of these back sections vertically, typically into two parts – sometimes three for extremely thick hair. This four-section method is powerful because it allows you to attack each piece systematically, lifting it, applying product, and diffusing until it’s perfectly dry with maximum definition before moving to the next. Experiment to find which sectioning pattern suits your hair thickness best, ensuring that each strand gets the attention it deserves.
Drying with Precision: Vertical vs. Horizontal Techniques
 How you position the diffuser in relation to your hair dictates the kind of curls you’ll get. Starting vertically is key for lifting and shaping the roots to achieve volume above the ear and away from the face. Hold the barrel of the diffuser over or slightly above your head, with the concentrator (the smaller end) pointing upwards towards the crown first. Move the diffuser smoothly along the scalp, lifting sections as you go and avoiding leaving it stationary in one spot to create clumps of dry, crunchy hair. As the section dries, you can pivot the diffuser down towards the front, allowing it to sit horizontally for a few final seconds to blast through any remaining dampness and refine your overall shape.
Enhancing Definition and Texture with Texture-Reversing Handles
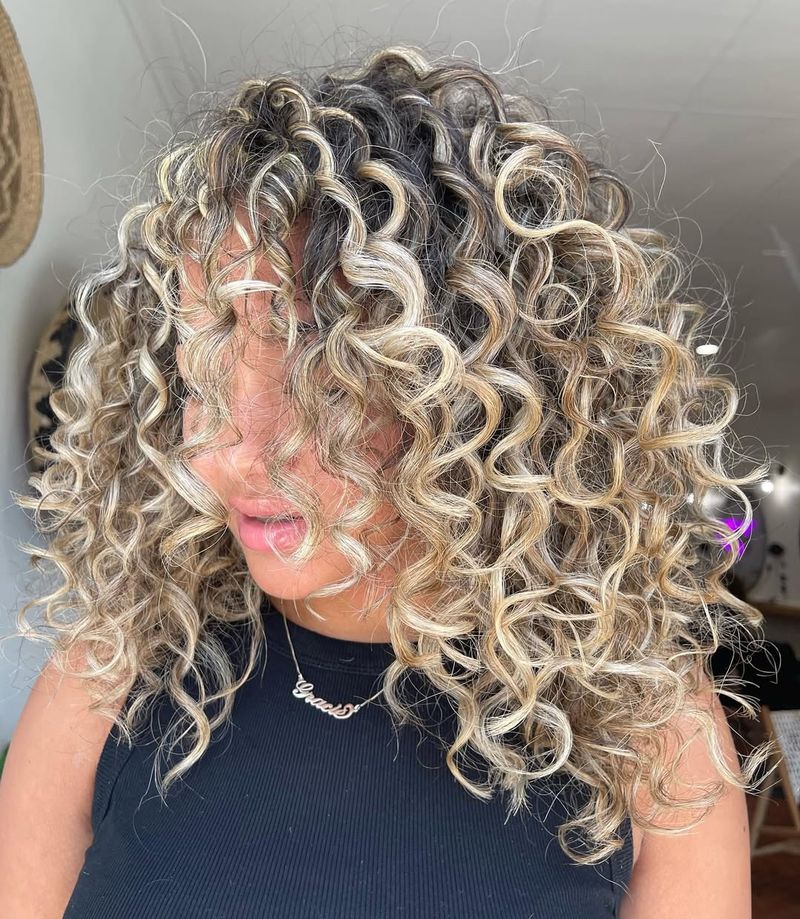 Once vertical or horizontal drying is complete, your hair is mostly dry but might lack that extra springy definition you’re after. This is where specialized diffuser attachments come into play. Texture-Reversing™ handles feature strategically placed pins or ridges that grip onto your curls as you move the diffuser over your hair. It doesn’t detangle, but it significantly changes the shape and direction of your existing curl clusters, creating more bounce, body, and separation. These attachments empower you to enhance your curl pattern, turning soft, undefined waves into bolder, more structured styles. Learn how to use a hair diffuser with these add-ons by experimenting gently over dry hair to see how they transform your texture.
Styling with Add-On Accessories: Detangling and Tweeing
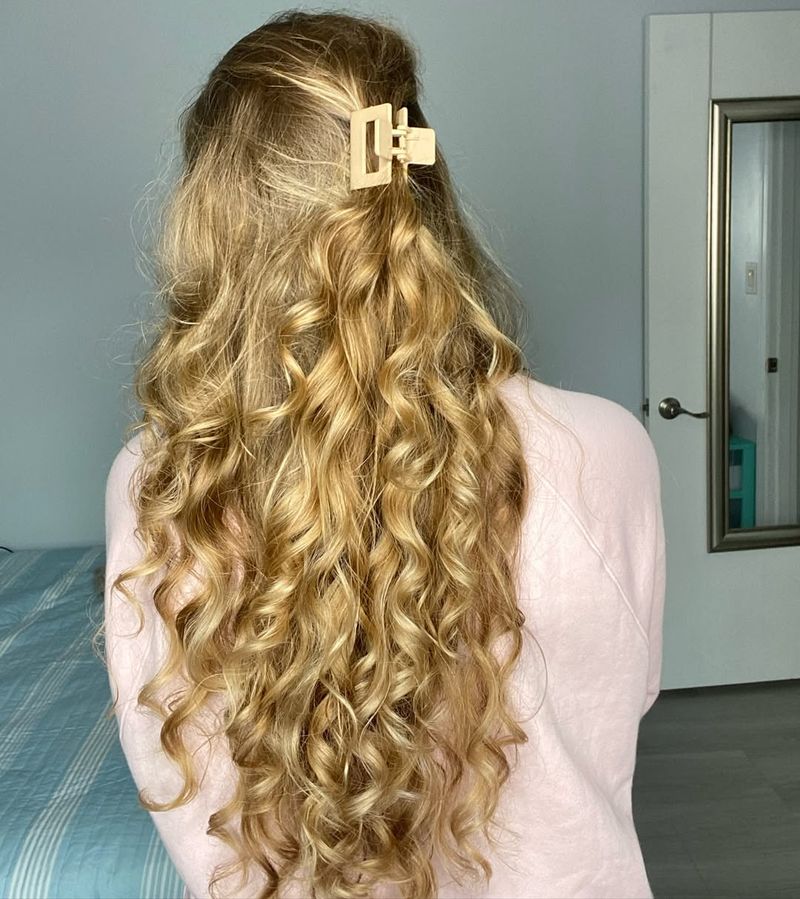 Dry days aren’t just about creating your look; they’re also a crucial opportunity for maintenance. Curly and wavy hair types often have prone-to-tangle areas, especially near the hairline and in thicker sections. A detachable plastic or silicone picking accessory attached to the end of the diffuser barrel is invaluable here. Use it gently at the roots and along the way down through your drying sections to lift knots and tangles without pulling or disrupting your drying progress (unlike teasing brushes or picks used before!). Once hair is fully dry, you can use the concentrator or a fine-toothed tweezer comb (often included with some diffusers) to gently refine your curl shape, gently lifting and pulling slightly to encourage more defined loops without breaking the hold. This step is the art of the hair diffuser for the most perfect curls ever, refining your creation.